
Remember my Christmas card project to make good use of my time? It's done and sent!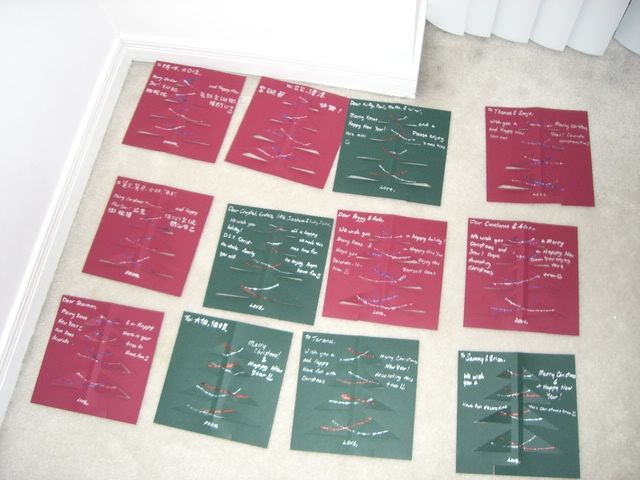
All laid out for the glitter glue to dry. Yes, I am double-digit aged and still uses glitter.
It was very simple - each card only required a piece of 8"x8" heavy paper, silver marker, and assorted colours of glitter glue. Here's a closeup: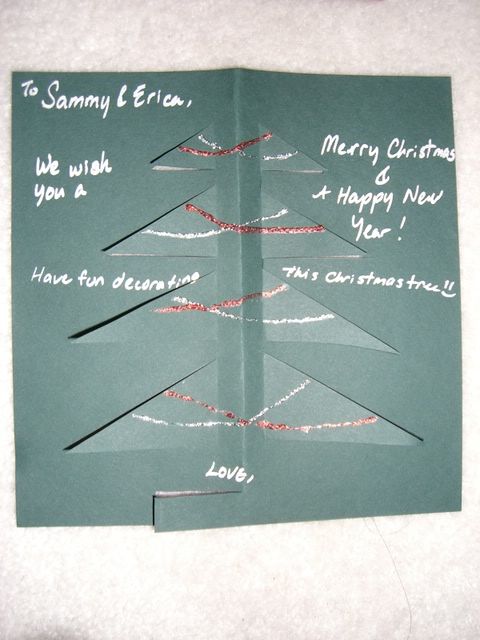
I swear I write better in cursive.
Materials: heavy paper, pencil, metal ruler, cutter
Steps:
1. Estimate the center and cut that little L shape out.
2. Leave that tab sticking out and fold the center.
3. Open up, and mark a 1cm margin on either side of the center fold.
4. Draw the levels of the Christmas tree as triangles resting on the margins, leaving around 1cm between each level.
5. Use the cutter to cut out the 2 sides of each triangle (tree levels). Be careful to not cut past the margin.
6. Push each tree level of its cut, out to the side that the center fold peaks towards. (So the tree levels fold opposite to the center fold.)
Now you can prop the Christmas tree on its little L-shaped tab stand, with the "leaves" sticking out! (I remembered taking a final product photo...) Decorate with anything you feel like, or to make this a fun interactive card, include decorations for your recipients!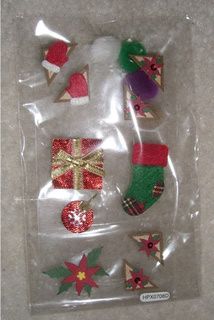
With each card, I included a packet of hand-crafted stickers (from dollar stores) and mini pom-poms with double sided tape on them. I inserted instructions on how to enjoy the card, and mailed them halfway around the globe. They arrived just in time for Christmas, with a few days to spare and stand with other Christmas cards.
Merry Christmas :)
A+B=C --- C for Complete 3-D Christmas Cards!
Tags:
A+B=C,
holiday,
warm and fuzzy
![]()
Subscribe to:
Post Comments (Atom)
No comments:
Post a Comment
Please leave a name, so you'll be easier to identify - just like the voices in my head.